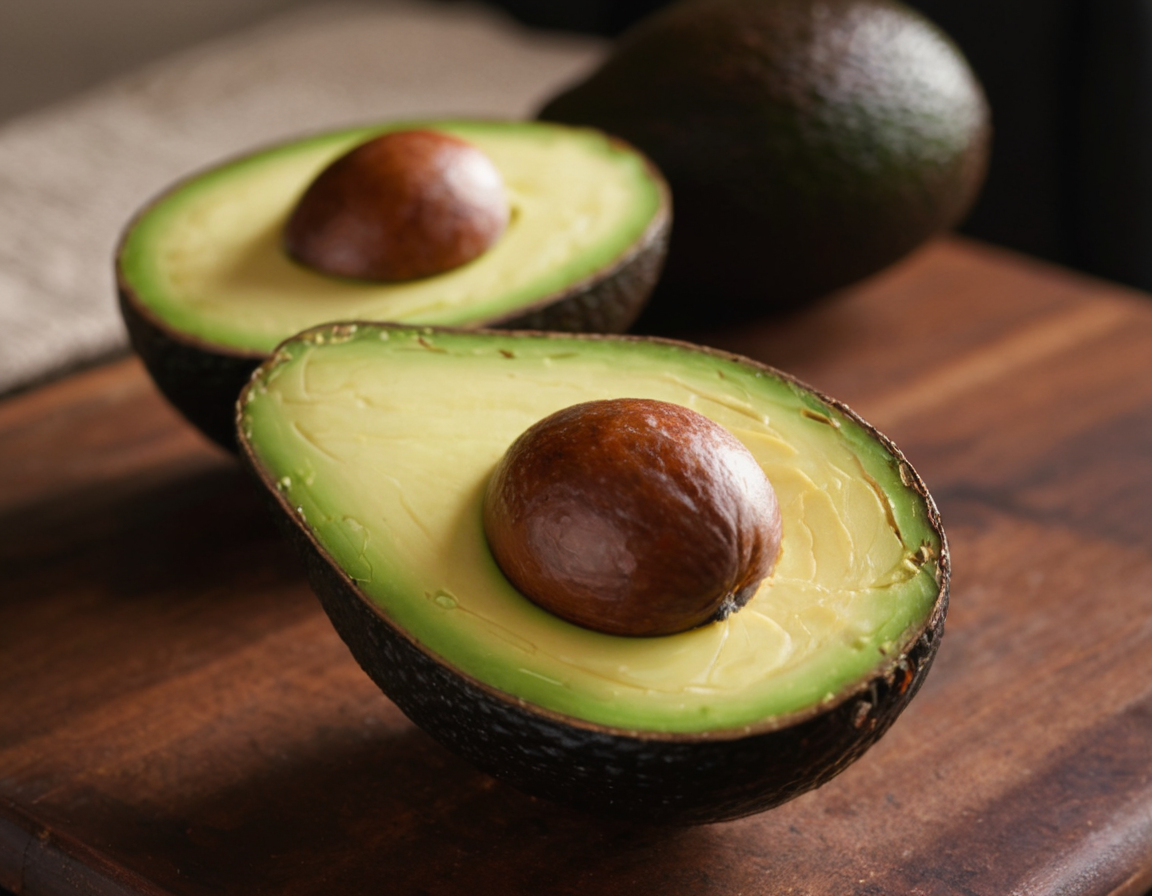
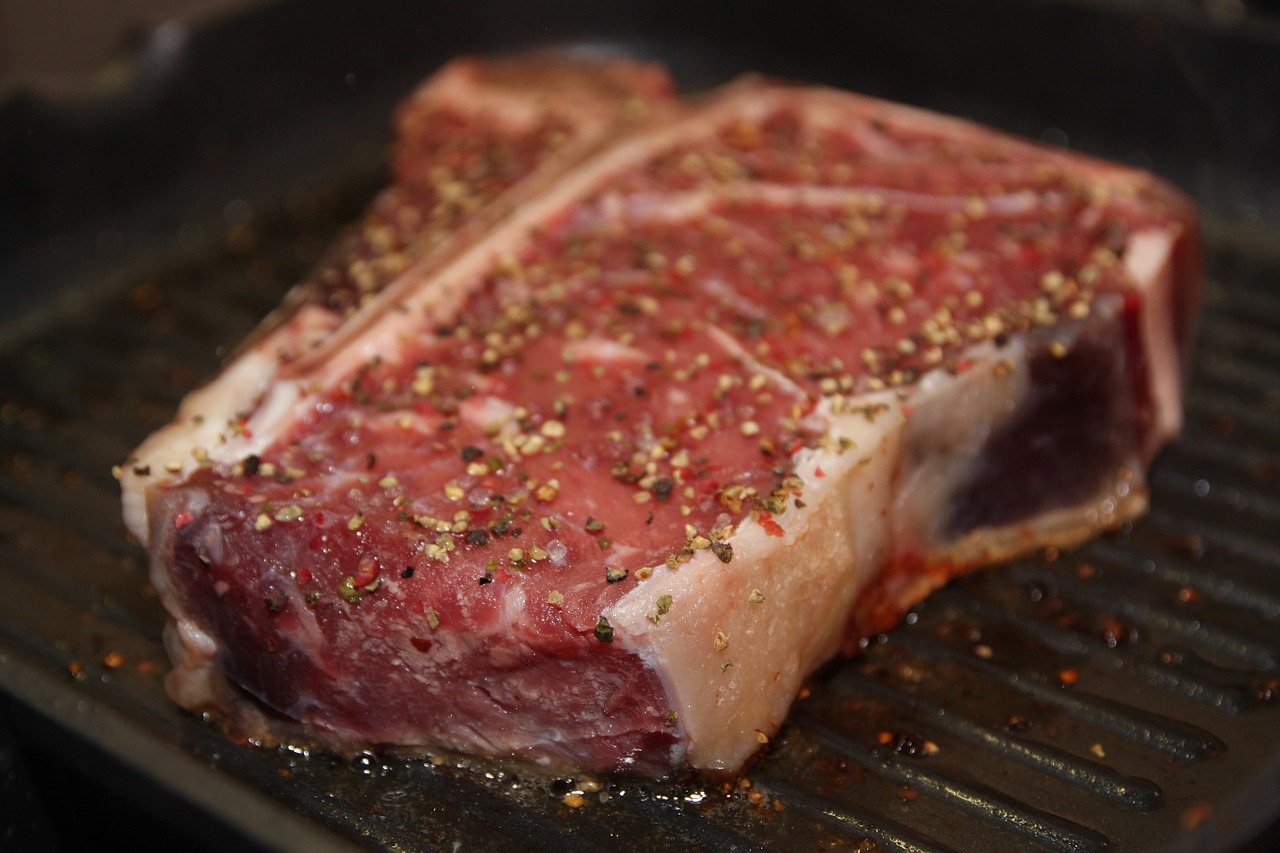
Five Ingredient Stuffed Shells

Garlic adds flavor to this simple recipe for stuffed shellsFive Ingredient Stuffed Shells

Well, when designing recipes for stuffed shells, I kind of went overboard with my Chile Colorado-inspired chicken stuffed shells. For this recipe for stuffed shells, I wanted to do the opposite and see if I could produce a recipe for stuffed shells with as few ingredients as possible. Five seemed like a good number and, after seeing the results, I think it turned out pretty well!

By the way, we’re not counting water as an ingredient since it doesn’t make it into the final product. Plus, it’s my blog so I can cheat however I want!!

You will need:

  • 1 box of stuffed shells
  • Salt
  • 2 bricks cream cheese
  • 5 cloves garlic, minced
  • 2 cups heavy cream

(See, that’s no so bad, is it?)

By the way, if I could have had six ingredients, I’d top the shells with some shredded mozzarella cheese. If I had seven ingredients, I would definitely want some white pepper in both the sauce and the cream cheese mix. And if I could have eight ingredients, some cooking spray to grease the baking dish, but I’m a man of my word.

  1. Prepare the stuffed shells according to package directions. If the package directions, don’t specify boiling the shells in salty water, boil them in salty water!
  2. While the stuffed shells are boiling, combine 1.5 boxes of cream cheese with 3 cloves of garlic.
  3. Fill the shells with cream cheese when they are done cooking.
  4. Also, in a sauce pan over medium heat, bring the cream to a simmer with the other two cloves of garlic.
  5. When the sauce just starts to simmer, mix in the rest of the cream cheese to thicken the sauce slightly.
  6. Preheat oven to 350.
  7. Finally, pour about a third of the sauce into the baking dish. Layer the shells on top of the sauce.
  8. Liberally coat the shells with the rest of the sauce and bake until warm.

Enjoy!

Leave a Comment

Filed under recipes

Chile Colorado-inspired chicken stuffed shells

Chile Colorado-inspired chicken stuffed shells

As you’re perusing recipes for stuffed shells, you’re going to find some really great Italian-based recipes and those recipes for stuffed shells are fantastic. However, we believe that there is more one can do with the stuffed shell than the classic approach (not that we don’t love the classic Italian approach.) Still, sometimes we want variety and so we took the stuffed shell and took it South of the border to try something a little different.
This recipe for stuffed shells is completely inspired by our love of chili Colorado, which is beef stewed in a smoked chili sauce. In the Blog Well Done household, chili Colorado is our quicker, less ingredient intensive version of mole that we like just as well. Still, we thought beef might overwhelm the flavor of the shell, so we opted for chicken, but kept the chili sauce.
Does that sound like a recipe for stuffed shells you might like?

You will need:
• 2 cups chicken broth or water
• 2 onion, sliced
• 5 cloves garlic, halved
• Salt and pepper
• 2 boneless skinless chicken breasts
• Cooking spray
• 4 ancho chilies
• 4 guajillo chilies
• 1 can of chipotles in adobo sauce
• 1 tablespoon dried oregano, preferably dried Mexican oregano
• 1/2 cup tomato sauce
• 1 box of stuffed shells
• 1 package of cream cheese
• 3 cups of cheddar cheese

This recipe for stuffed shells suggests that you brine your chicken for an hour or up to a day. If you don’t have time for that, you can skip it and go right to cooking the chicken.

  1. To prepare the brine, pour 2 cups of broth or water into a large bowl with a lid or a freezer bag. Add 1 onion, 3 cloves of garlic, 1/2 cup salt and pepper to taste. Put the chicken in the bowl and let it sit for as little as an hour or as much as 24 hours.
  2. Preheat oven to 350.
  3. Pat the chicken dry. Cover liberally with salt and pepper and place on a baking sheet covered in cooking spray.
  4. Bake the chicken for 22 minutes.
  5. While the chicken is cooking, bring a saucepan of water to boil.
  6. Once boiling, kill the heat and add the dried chilies. Let them rehydrate for about 10 minutes.
  7. Remove from the water and put the chilies in a food processor with the other onion, the rest of the garlic, 1 chipotle, 2 tablespoons of adobo and the oregano.
  8. Blend until smooth. If the sauce is too thick, add a little water from the chilies.
  9. Pour the sauce into a bowl.
  10. Put the chicken into the food processor and use it to shred the chicken.
  11. Finally, cook the shells according to package directions.
  12. Preheat oven to 350.
  13. While the shells are cooking, mix the cream cheese, one cup of cheddar cheese and chicken together.
  14. Spray a baking dish with cooking spray, then fill the finished shells with the cream cheese mixture.
  15. Place the shells on the baking dish, then pour in the sauce.
  16. Finally, top with the rest of the cheese and bake until the cheese is melted.

Enjoy!

Leave a Comment

Filed under recipes

Lobster and Shrimp Scampi Stuffed Shells

Lobster!Lobster and Shrimp Scampi Stuffed Shells

If you’re looking for recipes for stuffed shells, you might not be thinking seafood, but let me assure you, these stuffed shells are pretty darned amazing especially if you like lobster, cream cheese, shrimp and/or butter.  (Who doesn’t love those things?) Even better, not only are lobster and shrimp scampi stuffed shells amazing , this recipe for stuffed shells is as easy as any stuffed shell recipe you’re likely to find (if not even easier.) Especially because it tastes great with pre-cooked shellfish.

I will say, though, the secret to this recipe for stuffed shells is not overbaking the shells. This isn’t a recipe where you want to get the cheese topping all ooey gooey and melted. On the contrary, you just want the butter sauce to get nice and hot, then serve.

  • You will need:
    1 box stuffed shells (count varies by brand, but assume at least 16 shells)
  • Salt
  • 1/2 pound cooked lobster meat, chopped
  • 1/2 pound cooked shrimp, chopped
  • 12 ounces cream cheese
  • 1 tablespoon garlic powder
  • 1 teaspoon white pepper
  • 1 tablespoon tomato sauce
  • Cooking spray
  • 8 tablespoons butter
  • 2 cloves garlic, minced
  • 2 cups dry white wine


  1. Boil the stuffed shells per package directions in well-salted water.
  2. While the shells are cooking, mix the lobster, shrimp, cream cheese, garlic powder, white pepper and tomato sauce until well-incorporated.
  3. When the shells are done, fill each shell with a few teaspoons of the seafood mixture and place into a baking dish lined with cooking spray.
  4. Preheat your oven to 350.
  5. In a skillet over medium high heat, melt the butter, then saute the garlic for 30 seconds.
  6. Add the white wine and let reduce by about half.
  7. Pour the sauce into the baking dish, being careful not to pour it directly onto one of the shells to avoid the shell from being too soggy.
  8. Use a spoon to put a teaspoon or so of the sauce on each shell.
  9. Bake about 10 minutes or until everything is warm.

Enjoy!

Image courtesy of Pixabay.com!

Leave a Comment

Filed under Uncategorized

Foraging for locally grown food teaches you that food is EVERYWHERE!

Locally Grown Food is Everywhere!

Generally, my idea of foraging is getting up at 2am and looking through every cabinet to see if there might be just one Oreo left.   Kidding.  But foraging is something I am not super familiar with.   I’ve been known to eat the stray blackberry on a hike or head off in search of a paw paw  tree now and then, but never anything more serious than that.

Last week our FLF (Favorite Local Farm) posted on Facebook that they were going to host a foraging class and all were welcome.  Well don’t you know, I signed right up, and I am so glad I did!

KC Farm School at Gibbs Road

Common Ground

First let me tell you about our FLF,  KC Farm School at Gibbs Road.  This is a wonderful farm that is central to the community.  They host a farmer’s market on Wednesday night that features food from their farm along with other locally grown produce and products.  The farm works closely with schools in the area encouraging teachers to bring their students to learn about food and where it comes from.  There is a fantastic intern program that teaches students job skills and a work ethic, and all of their produce and classes are “pay what you are able”.  Recently, the farm expanded and purchased 11 acres of wild land across the street which is now known as “Common Ground”.  


A Class Teaching Foraging For Locally Grown Food

Elderberry flower fritters with mulberries, honey, and sugar

For our foraging class the farm employed the help of Amy Bousman from the Kansas Department of Wildlife and Parks.  She led a group of us through Common Ground and taught us which plants were edible, how to harvest them, what time of year they were ready, and also which plants to stay away from.  After a delightful hike and foraging session, we headed back to the farm and cooked a delicious treat with the food we found.  Amy showed us how to make elderberry flower fritters which we then covered with mulberries and honey.  Absolutely decadent!

After spending just these few hours with Amy it amazed me to see how much food is literally all around us.  She pointed out that many of the plants we see as weeds were plants that early settlers brought from their home countries because they found them useful for things like medicine and food.  Plants as common to us as dandelions, broadleaf plantain, and Queen Anne’s lace are all non-native species that are thought to have been brought here on purpose.  

Start Foraging

Harvesting mulberries is messy work!

If you would like to start foraging for your food or to use plants in your holistic health routine, you should first make sure you take a class either specifically on foraging, or at least on plant identification.  The first rule of foraging is to check, then double check, then triple check that you have the correct plant.  Many plants that are useful for medicine are also deadly if used incorrectly.  Some plants have lovely tasting flowers, but the stems will kill you.  And other plants have look-alikes that are deadly.  For example, Queen Anne’s lace has parts that are edible, but it looks a whole lot like hemlock, and you do NOT want to get those two mixed up.  

If you are interested in classes, check with your local wildlife department, community universities, or, like I did, your FLF.  Get some knowledge and go forth and forage!

Enjoy!

Leave a Comment

Filed under sustainable eating

More Kale!

Are You Ready for More Sautéed Kale?

Our little garden is trucking along!  The peas are just about ready to harvest, baby tomatoes are growing on the vine, and the kale and collards are still going strong.  This is the first year that I have had the time to really put into the garden and I have so enjoyed being able to go out and pick fresh food to use in lunch the same day.  Today is a Friday, which is the furthest day of the week from grocery shopping, so lunch had to be a little creative today, but I found another new recipe with the kale!

Sautéed Kale with Farro and Bacon

We have been on a health food kick, so we have been trying to eat more veggies and whole foods.  As I was looking in the fridge, I found a half a bag of Brussels sprouts, some bacon, and remembered we had a little farro left in the cabinet.   If you have never had farro, don’t fear!  It is delightful.  Imagine rice, but a little chewier and a little more nutty and a whole lot healthier!   I took all of those things and some kale from the garden and made this quick saute for lunch.

You will need:

For Farro:

  • 2 cups broth (beef or chicken)
  • 1 tsp. Garlic powder
  • 8 oz. farro (make sure you get pearled farro)

For the saute:

  • 8 oz bacon
  • 1 lb. Brussel’s sprouts
  • 7 good sized leaves of kale
  • 2 Tbs. olive oil
  • ½ tsp salt
  • ½ tsp black pepper
  • 1 tsp garlic powder

Farro

To make the farro:  In a medium saucepan, mix the garlic powder and broth.  Bring to a boil.  Once the broth is at a boil, add the farro, stir quickly, cover the pot, and turn burner to low.  Let sit for 25 min.  At that point the water should be absorbed and the farro is ready to serve.

Sautéed Kale with Bacon

To make the saute:  Pour olive oil into a medium skillet.  Slice the bacon and Brussels sprouts and add them to the pan.  Saute on medium high heat for about 4 minutes to get the cooking process started.  Tear the stems out of the kale and rip the kale into small pieces.  Add the kale, salt, pepper, and garlic powder to the skillet and stir.   Cover and saute on medium low for about 15 minutes.  Once the bacon is cooked through it is ready to serve.  Serve on top of the farro.

Enjoy!

Leave a Comment

Filed under recipes

Recipes with Stuffed Shells: Creamy sausage stuffed shells with zucchini

Image by <a href="https://pixabay.com/users/peggy_marco-1553824/?utm_source=link-attribution&utm_medium=referral&utm_campaign=image&utm_content=2054823">Peggy und Marco Lachmann-Anke</a> from <a href="https://pixabay.com//?utm_source=link-attribution&utm_medium=referral&utm_campaign=image&utm_content=2054823">Pixabay</a>Recipes with Stuffed Shells: Creamy sausage stuffed shells with zucchini

Stuffed shells are one of those dishes that seem really complicated and taste like they took hours to make, but overall, they’re pretty simple to cook up. With that said, a lot of recipes with stuffed shells tend to call for red sauce to cradle the shells while they bake. Certainly, there’s nothing wrong with those recipes with stuffed shells, but we thought we would try something different.

That’s why this recipe with stuffed shells features zucchini and a creamy béchamel that thickens while it bakes.

You will need:

  • 2 tablespoons olive oil
  • 3 zucchinis sliced thin
  • Salt and pepper to taste
  • 1 box stuffed shells
  • 4 tablespoons garlic powder (divided)
  • 1 pound Italian sausage
  • 1 package cream cheese
  • Cooking spray
  • 2 tablespoons butter
  • 2 tablespoons flour
  • 3 cups heavy cream
  • 2 teaspoons white pepper
  • 4 cloves garlic, peeled
  • 2 cups shredded mozzarella
  • 1/2 cup grated Parmesan cheese
  1. Preheat your oven to 350 degrees.
  2. Coat a baking sheet with olive oil and arrange the zucchini on the baking sheet.
  3. Cover liberally with salt and pepper.
  4. Bake until soft, about 15 minutes.
  5. While the zucchini is baking, boil the stuffed shells in water seasoned with salt and 2 tablespoons garlic powder.
  6. Also, brown the sausage and mix with the cream cheese and the rest of the garlic powder. You can use as much or as little of the sausage grease as you want.
  7. When the shells are done, drain them and stuff them with about a half tablespoon of filling.
  8. As you fill each shell, put them in a baking dish that you greased with cooking spray.
  9. After all shells are filled, top with the zucchini.
  10. Melt the butter in a skillet over medium heat and add the flour.
  11. Pour in the cream and let it start to bubble, then add the white pepper and garlic cloves. Stir to mix.
  12. Pour the sauce over the shells and top with shredded mozzarella and grated parm.
  13. Bake for 25 minutes and serve warm.
  14. Enjoy!

Leave a Comment

Filed under Uncategorized

Cooking Italian Sausages in the Oven

Image by <a href="https://pixabay.com/users/takedahrs-12657/?utm_source=link-attribution&utm_medium=referral&utm_campaign=image&utm_content=1109606">takedahrs</a> from <a href="https://pixabay.com//?utm_source=link-attribution&utm_medium=referral&utm_campaign=image&utm_content=1109606">Pixabay</a>Cooking Italian sausage in the oven

If you’ve ever been to Jasper’s in Kansas City and had one of their grilled Italian sausage sandwiches, you may be asking yourself why anyone would want to cook Italian sausages in the oven. While there is something to flame kissing an Italian sausage, I kind of prefer cooking Italian sausages in the oven. For my money, cooking Italian sausages in the oven is faster, there’s less clean up than cooking Italian sausages on the grill, and they still taste delicious.
Of course, like with most things, there’s an art to cooking Italian sausage in the oven and a method that will get you better results every time. Of course, that method takes longer than just cooking the Italian sausages in the oven, so we’ll talk both methods.

Cooking Italian sausages in the oven

You will need:

  • 8 Italian sausages
  • Enough vegetable oil to cover the bottom of baking dish
  • Salt and pepper to taste

Italian sausage method #1: Quick and tasty

  1. Preheat your oven to 350.
  2. Grease the bottom of a baking dish with the vegetable oil and arrange the sausages so that they don’t touch.
  3. Use a sharp knife to cut small holes in the top only of the sausage.
  4. Sprinkle with salt and liberally coat with black pepper
  5. Bake until the sausage is cooked all the way through, about 12-15 minutes.

Note: In case you are wondering, normally you would want to pair Italian (olive) oil with Italian sausages, but I prefer vegetable oil in this case because it won’t burn.

Italian sausage method #2: More steps, but tasty

  1. Preheat your oven to 450.
  2. Grease the baking dish with a thin layer of vegetable oil.
  3. Put the baking dish into the oven and let it get very hot for 10 minutes.
  4. While the baking dish is charging, use a sharp knife to cut small holes in the top only of the sausages.
  5. Sprinkle both sides with salt and liberally cover with black pepper.
  6. After ten minutes, use an oven mitt or hot pan holder to open the oven and pull out the dish.
  7. Arrange the Italian sausages cut side down and cook for one minute. This should give you similar browning to a grill.
  8. Flip the sausages and reduce the heat to 350.
  9. Cook for 12 minutes or until done all the way through.

Slap on a bun, toss into a sauce or eat as is. Whatever you do, enjoy!

Leave a Comment

Filed under recipes

Great… I Have Kale, Now What?? Three Easy Kale Recipes

Are you excited for kale season?

If you’re like most people, you’re probably not excited.  Also, if you have a garden, are part of a CSA, or have been to a farmer’s market, more than likely you now have some kale and have no idea what to do with it.

The sad fact is that kale got a bad rap a few years ago because it started showing up in everything because it was trendy and healthy and within no time we all had kale fatigue.  For as much as I personally love kale, I don’t need it in absolutely everything.  So it was with some relief that I bid kale adieu and moved on to the next big thing which I think was spinach or maybe acai?

Anyway, even if the kale trend passed us by, it never left grocery store shelves, farmer’s fields or my little garden.  So, we might as well figure out what we’re going to do with it.  I mean it is still healthy for you and, if done right, can be pretty tasty.

Kale Recipe #1 Sautéed Kale

Okay, this is the easiest way to make kale.

You will need:

  • 2 tablespoons of olive oil
  • 2 cloves garlic, minced
  • 2 cups of kale, chopped roughly
  • Salt to taste
  • 1 pinch red pepper flake


  1. In a skillet over high heat, add the olive oil and let it warm for about thirty seconds.
  2. Add the garlic and sauté for 15 seconds.
  3. Add the kale and a healthy pinch of salt.
  4. Sauté the kale until it starts to soften and then add the red pepper flake.
  5. Cook the kale until it wilts and looks wet.  Serve hot.

Kale Recipe #2 Kale Chips with Sea Salt and Tajin

Turn on your oven low and bake the kale until crispy.

You will need:

  • Enough oil to cover the bottom of your baking dish.  This will vary based on the size of your pan.
  • 2 cups of kale, cut into roughly two inch pieces
  • 4 tablespoons sea salt
  • 2 tablespoons tajin
  • (optional) lime wedges


  1. Preheat the oven to the lowest temperature you can
  2. Cover the bottom of your baking dish or baking sheet with olive oil, cooking spray or vegetable oil
  3. Arrange the kale on the baking sheet and sprinkle liberally with sea salt
  4. Bake the kale until it is dry and crispy.  This will vary based on how low your oven temperature can be set.  Start checking at 30 minutes.
  5. When the chips are done, immediately sprinkle with tajin.
  6. When you are ready to eat, you can also sprinkle them with lime juice.

Kale Recipe #3 Kale Chicken Parmesan Soup

Yeah, it may be a little warm for soup, but this dish is light and healthy.  Perfect for summer.

You will need:

  • 2 tablespoons butter
  • 2 tablespoons olive oil
  • 1 chicken breast, diced
  • Salt and pepper to taste
  • 2 cups of kale finely chopped
  • 4 cups chicken broth
  • 3 tablespoons grated parmesan
  • 2 tablespoons lemon


  1. Melt the butter over medium heat in a soup pot.
  2. Add the olive oil and let it get hot for about 20 seconds
  3. Add the chicken and salt and pepper to taste.  Cook the chicken until all traces of pink are gone.
  4. Pour in the kale and let it sauté for about a minute to get the cooking process started.
  5. Pour in the chicken broth, increase the heat to medium high and bring it to a boil.
  6. Cook the kale until soft, about 10 minutes.
  7. Add the parmesan and lemon juice.  Stir to incorporate and serve.

Okay, now that you know what to do with that kale, get out there and cook it.  Enjoy!

Leave a Comment

Filed under recipes

New Restaurant Saturday – T&M Creperie

T&M Creperie CrepesIt’s New Restaurant Saturday!

I mean, it happens every Saturday, but we just posted our New Restaurant Saturday recap episode for March 18, 2023.  That was a crazy day for us since we had just gotten back to Kansas City from Orlando.  We’d hopped a 6am flight from Orlando and went from 80 degree weather to 19 degree weather and I was still in shorts and a T-shirt.

T&M Creperie was the comfort food we needed

Once we slept off the weather shock, we turned to T&M Creperie for a hit of sugar and when were ready for real sustenance, we went to Romecito Cuban Restaurant before heading home to sleep.

Listen to the podcast episode out now!  Enjoy!

Leave a Comment

Filed under New Restaurant Saturday

Dreams of Robert is Here

Mamey SapoteRobert is Here, I am Not There

What you see to the left is called Mamey Sapote or just mamey.  This culinary wonder was purchased at a place called Robert is Here in Homestead, FL (which is a suburb of Miami, FL and is listed as a place you should go when you visit the Everglades.)

I didn’t really know what to think when I went to Robert is Here.  I knew it was supposed to be a cool fruit stand, but how cool can a fruit stand be.  (Spoiler alert: very.) 

I did learn Robert is Here got its name when the original owner had his son, Robert, hold up a sign that said he was there…and people stopped to buy their produce.  Fast forward to today and Robert is Here is paradise for people who love fruit, shakes, petting zoos, play areas or all the above.

When you drive up, the building looks like a fruit stand, just a bit longer.  Then you notice the lines.  Then you notice it’s the first Florida location on the National Culinary Heritage Register (and then, if you’re me you go look up what that is.)  And then you’re inside and you realize that you’ve entered someplace magical…

The Place for Exotic Fruit

Robert is Here is known for selling exotic and rare fruit (and regular fruit, too!)  You can enjoy pineapples and mangos and the best freaking orange juice the Family Perrin has every had.  Still, if you’re like us, you also have to try the fresh cacao, mangosteens, miracle fruit, apple bananas, guanbana, sapodilla and lot more.  Basically, if you have ever of it, there’s a good chance Robert is Here has it.  And if you haven’t heard of it, there’s a good chance Robert is Here has it.

All you have to do is fill up your basket and take it to the counter.  They will slice it for you so that you can head back to your car or a picnic table in the play area and dig in.  Bring wet naps.  Fruit is juicy.

Kansas in the Winter is Not Robert is Here

I wrote this post because it’s February and the produce in America’s heartland isn’t what it will be in a few months.  It was nice to stroll down memory lane to a time when it was warm and the fruit was soft, sweet, and juicy.  To a time when I had mamey, a fruit I swear tastes and feels like pumpkin pie.

I hope to go back soon, but in the meantime if you find yourself in Southern Florida, Homestead isn’t far away.  Try the mamey.  You will love it.

Enjoy!


Leave a Comment

Filed under food travel