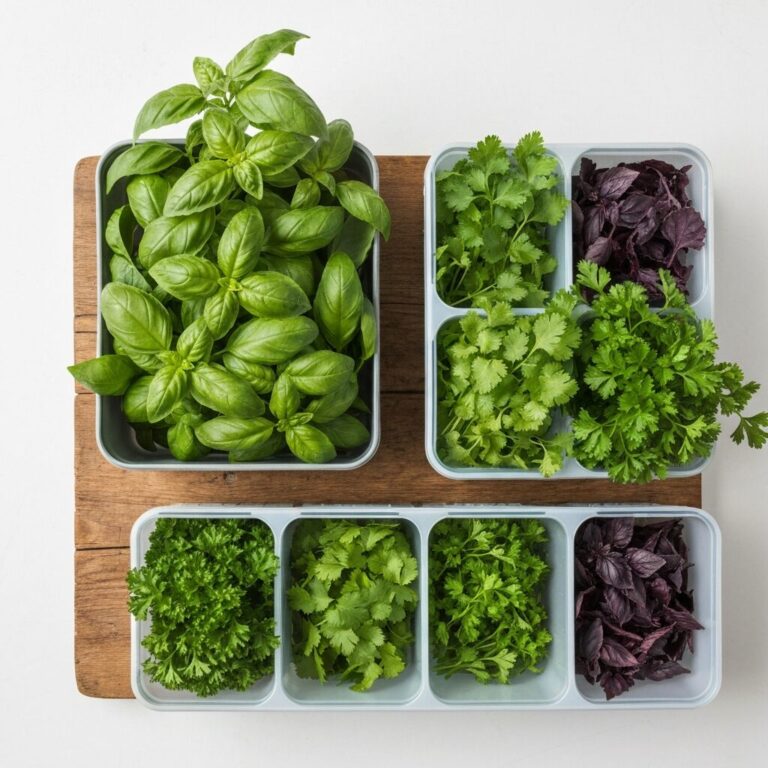
Keep Your Herbs Fresh: Storage Tips for Vibrant Flavor
Don’t let your fresh herbs wilt away! Learn simple, effective storage techniques for tender and sturdy herbs, plus special tips for basil, to keep them vibrant and flavorful for weeks.
Don’t let your fresh herbs wilt away! Learn simple, effective storage techniques for tender and sturdy herbs, plus special tips for basil, to keep them vibrant and flavorful for weeks.

Discover why a digital kitchen scale is more than just for bakers. This review explores its everyday benefits for precision cooking, meal prep, and even reducing kitchen mess.

This grilled chicken recipe features a vibrant, herb-packed Green Goddess marinade that doubles as a bright finishing sauce, perfect for spring cookouts and weeknight dinners.
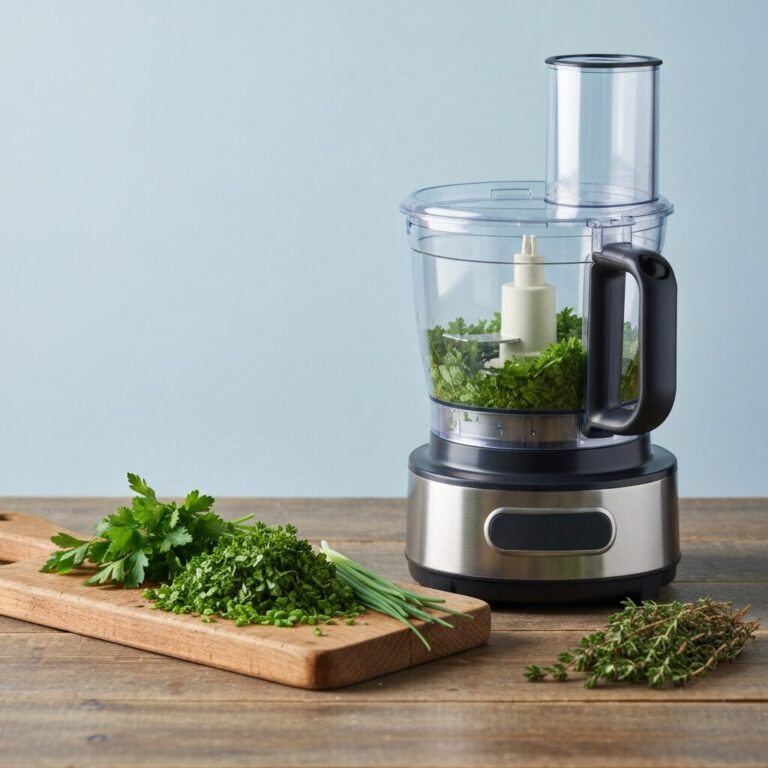
Discover why a good food processor is an indispensable tool for home cooks, saving time on prep work and unlocking culinary versatility for everything from pesto to pie crusts.
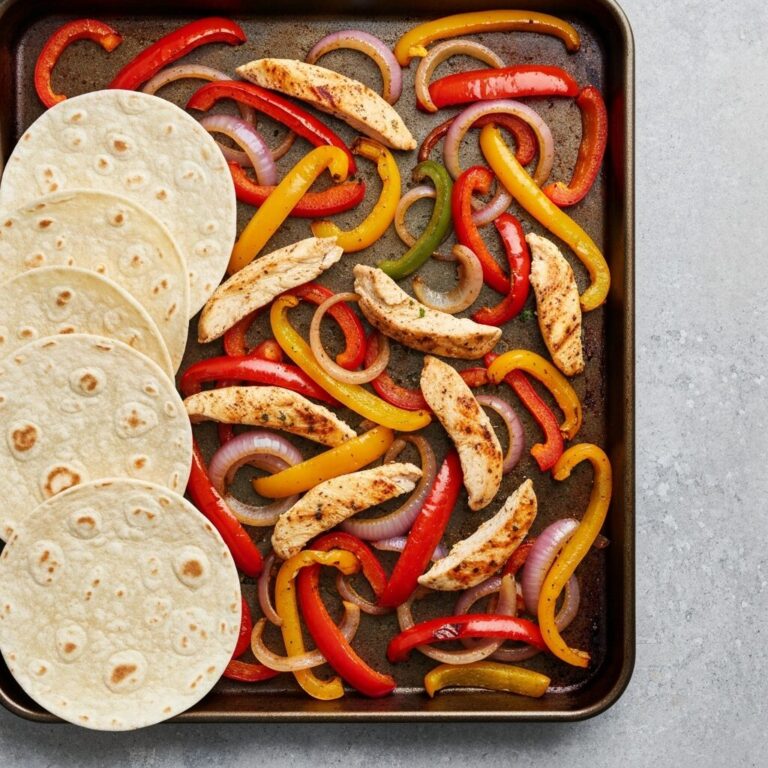
Sheet pan chicken fajitas that deliver restaurant-quality flavor with minimal effort. One pan, store-bought seasoning, and 25 minutes of hands-off cooking.
For whatever reason, we’re on a cabbage kick in the BWD household. It’s showing up in noodle dishes, on Dominican street food hamburgers, alongside German food, etc. Strangely enough, it’s not just my fault. Normally I am the cabbage cheerleader, but this time the whole family is in on it. Cabbage Stir Fry With that…

Monkfish First, let’s clear up the confusion. That’s not a monkfish. That’s stained glass that a monk might see. I have chosen to spare you because monkfish are super ugly looking. Even when they’re broken down. Fortunately, they have a taste like shrimp-mixed-with-lobster with a meaty texture that I think is perfect for people who…
Zombie Cupcakes: From the Grave to the Table with 16 Cupcake Corpses I’ve been catching up on The Walking Dead Season Two the past several nights. I’m really enjoying the drama, the characters, the production, really…all of it. Still, for those of you who have seen the show, you’ll believe me when I say it’s not…
How to Make Brown Butter Okay, so in yesterday’s post How to Melt Butter, I talked about the fact that for the next several weeks, I am going to concentrate on going over culinary fundamentals. I really want to cover the basics of cooking, and in doing so, equip all the home cooks out there with…
Melting Butter Okay, so it’s been a while since I’ve blogged steadily. I apologize. I got wrapped up in a new project that should be really cool and really perfect for local food producers, but it also has eaten into my blogging time. (It’s sort of pre-alpha right now.) Fortunately, I’ve had a lot of…