This post contains affiliate links. As an Amazon Associate I earn from qualifying purchases. Learn more.
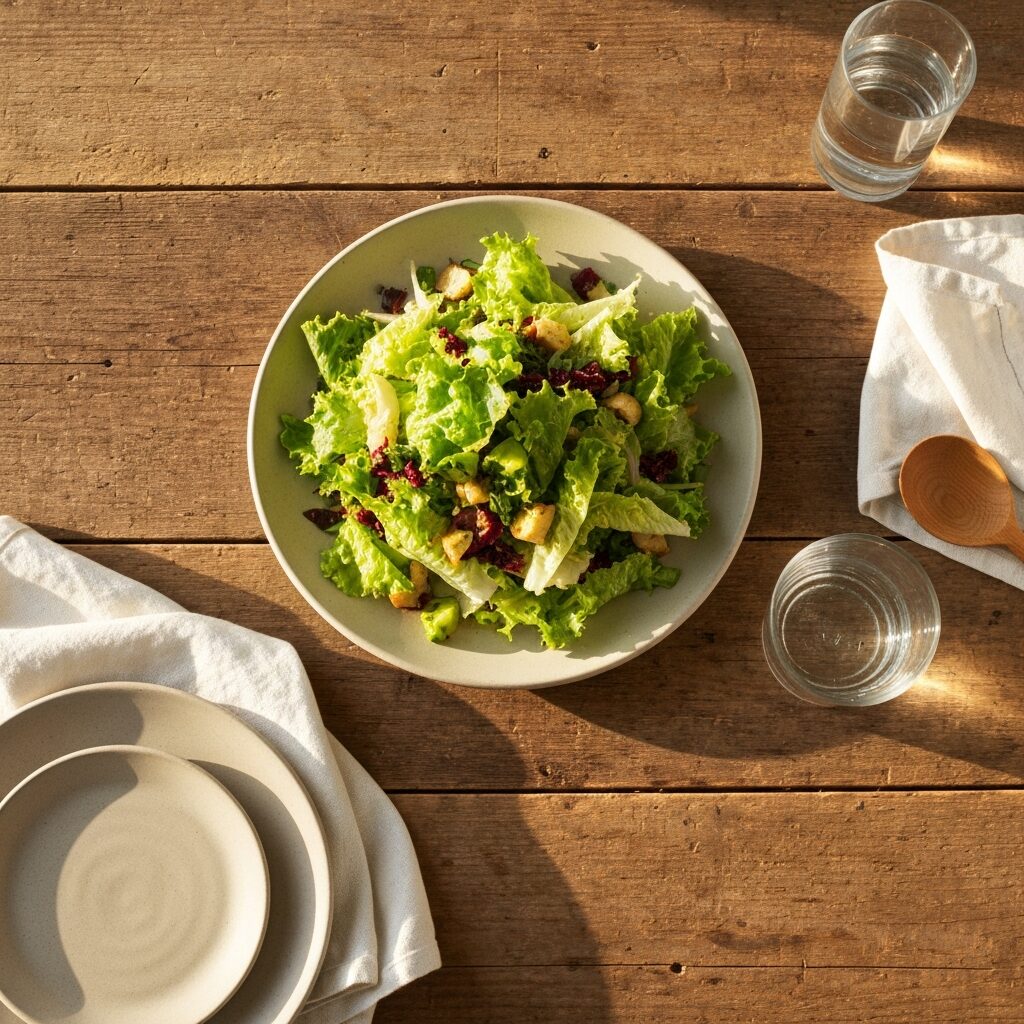
There’s nothing quite like a vibrant, crisp salad, especially when the spring and summer farmers markets are overflowing with gorgeous greens. Imagine that satisfying crunch, each leaf perfectly coated in a light dressing, bursting with flavor. Now, contrast that with the crushing disappointment of a soggy, limp salad, no matter how beautiful your dressing is. It’s a sad state of affairs, isn’t it?
The secret to salad nirvana isn’t just about having the freshest ingredients (though those certainly help!). It’s also about how you prepare them. Specifically, how you wash and, most importantly, how you dry your leafy greens. It might seem like a simple step, but mastering it makes all the difference between a forgettable salad and one that has everyone asking for the recipe.
Why Perfectly Washed Greens Make All the Difference
Beyond the obvious benefit of removing dirt, sand, and any sneaky critters that might have hitched a ride from the farm, proper washing and drying techniques play a huge role in the texture and flavor of your salad. Wet greens repel dressing, leading to a watery, diluted taste and a salad that just doesn’t sing. Crispy, dry greens, on the other hand, allow dressing to cling beautifully, enhancing every bite.
Step 1: The Initial Rinse and Separate
First things first, get those greens ready for their bath. Whether you’ve got a head of romaine, a bag of mixed greens, or a bundle of beautiful Swiss chard from the market, you’ll want to separate the leaves. For heads of lettuce, gently peel each leaf away from the core. For bagged greens, simply empty them into a large bowl or directly into your colander.
Rinse them under cool, running water. This initial rinse helps dislodge any obvious dirt or debris. You don’t need to scrub; just let the water do its job. If your greens are particularly sandy, you might do this a couple of times.
Step 2: The Refreshing Soak
This is where the magic happens, especially for greens that look a little tired or have a lot of hidden grit. Fill a large bowl or a clean sink with cool water. Submerge your separated greens entirely. Let them soak for about 10-15 minutes. Think of it as a spa day for your lettuce!
During the soak, any remaining dirt or sand will sink to the bottom of the bowl, away from your precious leaves. This also helps to rehydrate limp greens, making them perk up and become wonderfully crisp again. After soaking, gently lift the greens out of the water, leaving the sediment behind. Give them another quick rinse under cool water if needed, then transfer them to a colander.
Step 3: The Essential Dry (No, Really, It’s Essential!)
This is the most critical step for achieving a truly sensational salad. If your greens are even slightly wet, your dressing will slide right off, leading to a bland, watery mess. We want dressing to cling, not to repel! You have a couple of options here:
The Paper Towel Method: Lay a clean kitchen towel or several layers of paper towels on your counter. Spread your greens in a single layer over the towels. Gently top with another layer of towels and pat dry. You might need to repeat this process a few times with fresh towels until the greens are truly dry. This method works fine for small batches, but it can be a bit tedious and uses a fair amount of paper if you’re making a big salad.
The Salad Spinner Advantage: Ah, the salad spinner! If you don’t have one, consider it your next essential kitchen gadget. It’s a game-changer for efficiently drying greens. A salad spinner uses centrifugal force to literally spin the water off your leaves, collecting it in an outer bowl. It’s incredibly effective and much faster than patting everything dry by hand.
The Perks of a Salad Spinner
Using a salad spinner is quick, easy, and incredibly effective. Just load your washed greens into the inner basket, put the lid on, and pump the handle or turn the crank. You’ll be amazed at how much water collects in the outer bowl. Give it a few good spins until the greens are visibly dry and crisp. Your dressing will thank you!
Ready to upgrade your salad game? A good quality salad spinner is worth the investment. Check out this OXO Good Grips Salad Spinner (paid link) – it’s a favorite in many home kitchens for its ease of use and durability.
Common Pitfalls to Avoid for Perfect Greens
Not Washing Thoroughly Enough: Don’t rush it! Bits of grit are nobody’s favorite salad topping. Take your time with the rinse and soak.
Overcrowding the Bowl/Spinner: Trying to wash too many greens at once means they won’t get properly clean or dry. Work in batches if you have a large amount.
Not Drying Completely: This is the ultimate sin! Even a little residual water will dilute your dressing and make your salad limp. Be patient with the drying step.
Storing Wet Greens: If you’re washing greens ahead of time, make sure they are thoroughly dry before storing them. Wrap them loosely in paper towels and place them in an airtight container or zip-top bag in the fridge. Wet greens spoil much faster.
Mastering the art of washing and drying your salad greens might seem like a small detail, but it’s one of those foundational techniques that truly elevates your cooking. With these simple steps, you’ll be enjoying perfectly crisp, flavorful salads every time, making the most of all those beautiful farmers market finds. Happy crunching!
Chinese cooking has long been an topic at which I have turned up my nose. For many years, I was awash in a sea of Panda Expresses, crab rangoon filled with Philadelphia cream cheese, and MSG-laden Chinese buffets. A lot of that had to do with college. During those four years, I looked at Chinese…
Today I completed my first ever Daring Bakers challenge. My mission: make a caramel cake with caramelized butter frosting. Last month they made pizza. Pizza I could have done. This? This is real baking, but who am I to back away from a challenge just because I am a crap baker? Isn’t that why I…
Discover why the air fryer is more than just a fad – it’s a versatile, healthy shortcut to crispy, delicious meals. We dive into its benefits, drawbacks, and who it’s best for.
Elevate your outdoor cooking with perfectly grilled vegetables! Learn the simple techniques to achieve tender, smoky, and flavorful results every time, from prep to plate.
Monkfish First, let’s clear up the confusion. That’s not a monkfish. That’s stained glass that a monk might see. I have chosen to spare you because monkfish are super ugly looking. Even when they’re broken down. Fortunately, they have a taste like shrimp-mixed-with-lobster with a meaty texture that I think is perfect for people who…
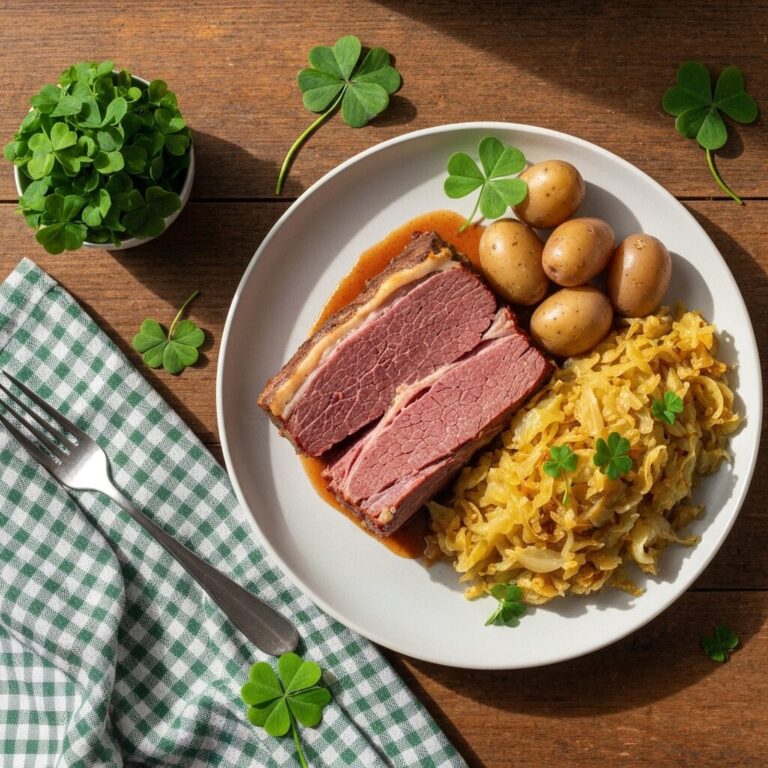
Discover the fascinating journey of corned beef and cabbage, from its humble origins as an immigrant adaptation to becoming the iconic dish of St. Patrick’s Day celebrations across America.