Mastering the Two-Zone Grill: Your Summer BBQ Secret Weapon
This post contains affiliate links. As an Amazon Associate I earn from qualifying purchases. Learn more.
Ah, summer grilling! There’s something truly special about the sizzle of food over an open flame, the smoky aroma filling the air, and gathering with friends and family for a delicious meal straight off the grates. But if your grilling adventures usually involve one temperature and hoping for the best, get ready for a game-changer. We’re talking about mastering the two-zone grill, and once you get the hang of it, your summer BBQs (hello, Father’s Day feast!) will never be the same.
Think of your grill as having multiple personalities, not just a single, fiery persona. The two-zone setup is like giving your grill a brain, allowing you to sear a steak to perfection on one side while gently roasting a tender piece of fish or finishing a thick chicken breast on the other, all without burning a thing. It’s the secret sauce for consistent, delicious results, and it’s surprisingly simple to set up.
What Exactly is a Two-Zone Grill?
At its core, a two-zone grill setup creates distinct heat areas on your cooking surface: one side is hot and direct, and the other is cooler and indirect. The direct heat side is where the coals are piled high or the gas burners are cranked up, perfect for searing, achieving that beautiful char, and cooking thin items quickly. The indirect heat side, on the other hand, is where there’s no direct heat source underneath. This area is ideal for slower cooking, roasting larger cuts, or gently finishing items that have already been seared. It’s like having an oven right on your grill!
Setting Up Your Two-Zone Grill
The beauty of this technique is that it works whether you’re a charcoal purist or a gas grill enthusiast. The principle remains the same, just the execution varies slightly.
For Charcoal Grills
This is where the two-zone method truly shines. To create your zones, simply push all your lit charcoal to one side of the grill. This creates your direct, high-heat zone. The other side, with no charcoal directly underneath, becomes your indirect, cooler zone. Make sure your coals are fully ash-covered and glowing before you start cooking for consistent heat.
Pro Tip: Using a chimney starter is a fantastic shortcut here. Instead of fiddling with lighter fluid and waiting ages, a chimney starter uses newspaper or a fire starter cube to quickly and evenly light your charcoal in about 15-20 minutes. It means less waiting, no chemical taste, and perfectly lit coals every time!
For Gas Grills
Setting up a two-zone system on a gas grill is even simpler. Just turn the burners on one side of your grill to medium-high (this is your direct heat zone) and leave the burners on the other side completely off (your indirect heat zone). Close the lid and let the grill preheat for 10-15 minutes to allow the indirect side to warm up gently from the circulating heat. You’ll still achieve fantastic results with this method.
How to Use Your Two-Zone Setup
Now that you’ve got your zones, let’s talk about how to put them to work for your culinary masterpieces.
Searing and Finishing
This is the classic technique for cuts like steaks, pork chops, and thicker chicken breasts. Start your item on the direct, hot side of the grill to get that beautiful, flavorful sear and those coveted grill marks. Once you’ve achieved a nice crust (usually 2-4 minutes per side, depending on thickness), move the food over to the indirect side to finish cooking through without burning the exterior. This method ensures juicy interiors and perfectly browned exteriors.
Low and Slow Cooking
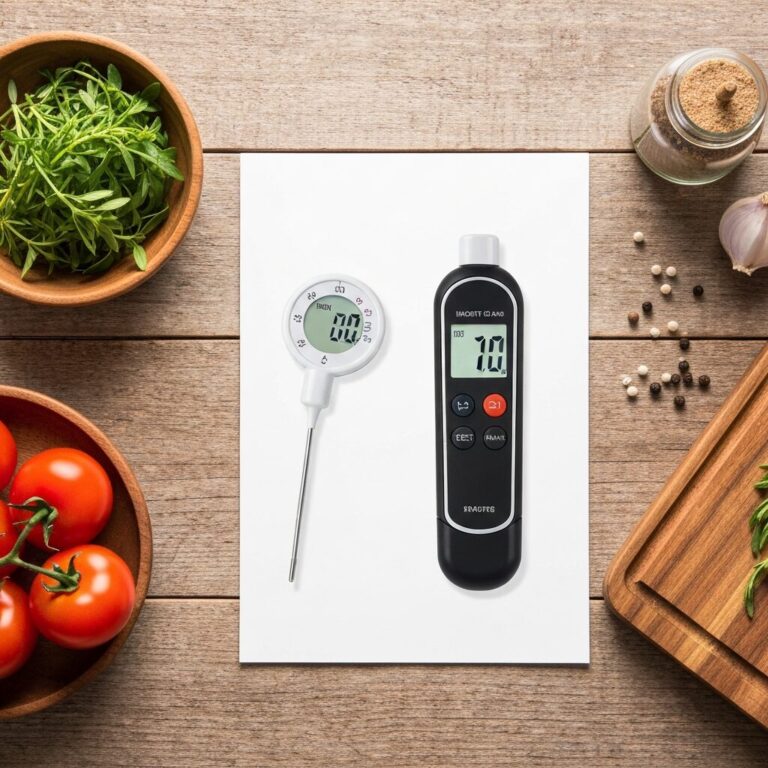
Have a whole chicken, a rack of ribs, or a large roast? The indirect zone is your best friend. Place these items on the cooler side of the grill, close the lid, and let the circulating heat cook them gently and evenly, just like an oven. This method prevents flare-ups and allows for tender, succulent results with a delicious smoky flavor. You’ll want to use a reliable instant-read thermometer (which we talked about here!) to monitor internal temperatures for food safety and perfect doneness.
Warming and Holding
Ever pull everything off the grill only for half of it to get cold while you’re serving? The indirect zone is perfect for keeping cooked food warm without overcooking it. You can also use it to gently toast burger buns or warm up veggies while the main course is finishing up on the direct side.
Delicate Items
Fish fillets, shrimp, and many vegetables (asparagus, bell peppers, corn on the cob) can be prone to burning over high direct heat. For these delicate items, starting and even finishing them entirely on the indirect side can be a lifesaver. If you want a bit of char, you can move them to the direct side for just a minute or two at the very end, but largely, the indirect heat will cook them through beautifully without drying them out or turning them into charcoal.
Common Two-Zone Grilling Mistakes to Avoid
- Not Preheating Enough: Just like an oven, your grill needs to come to temperature. Give it 10-15 minutes with the lid closed before you start cooking, especially if you’re aiming for a good sear.
- Overcrowding the Grill: Resist the urge to pack every inch of your grates. Leave some space around your food for proper air circulation and easier flipping. This is especially true for the indirect side where the heat needs to circulate.
- Forgetting to Clean Your Grates: Dirty grates mean sticking food and unwanted burnt bits transferred to your meal. Always give your grates a good brush-down before and after each use. It makes a huge difference!
- Not Using a Thermometer: We can’t stress this enough! Guessing doneness is a recipe for dry food or worse, undercooked food. An instant-read thermometer is your best friend for perfectly cooked meats every time.
Essential Gear for Two-Zone Mastery
While the two-zone method is mostly about technique, a couple of tools can really elevate your experience.
A Sturdy Grill Brush
Keeping your grates clean is paramount for non-stick cooking and great flavor. A heavy-duty grill brush with sturdy bristles (or bristle-free options for safety) will make quick work of any stuck-on bits. Don’t skip this step!
Find a top-rated grill brush on Amazon here. (paid link)
Charcoal Chimney Starter (for Charcoal Grills)
If you’re using charcoal, a chimney starter is a real time-saver and makes lighting coals incredibly efficient and clean. It’s one of those tools you wonder how you ever grilled without!
Mastering the two-zone grill technique is like unlocking a new level in your grilling game. It gives you incredible control, prevents overcooked disasters, and opens up a whole new world of possibilities for what you can cook. So fire up those coals (or gas!), create your zones, and get ready for the best summer grilling yet. Your taste buds (and your Father’s Day guests!) will thank you.